
Playground Basketball Stretch Build: Best Setups and Attributes
A Playground Basketball stretch build uses Stretch primary and Playmaking secondary pie charts to hit outside shots over smaller defenders while maintaining ball control. Setting height between 6'8" and 7'0" provides reliable floor spacing across park courts.
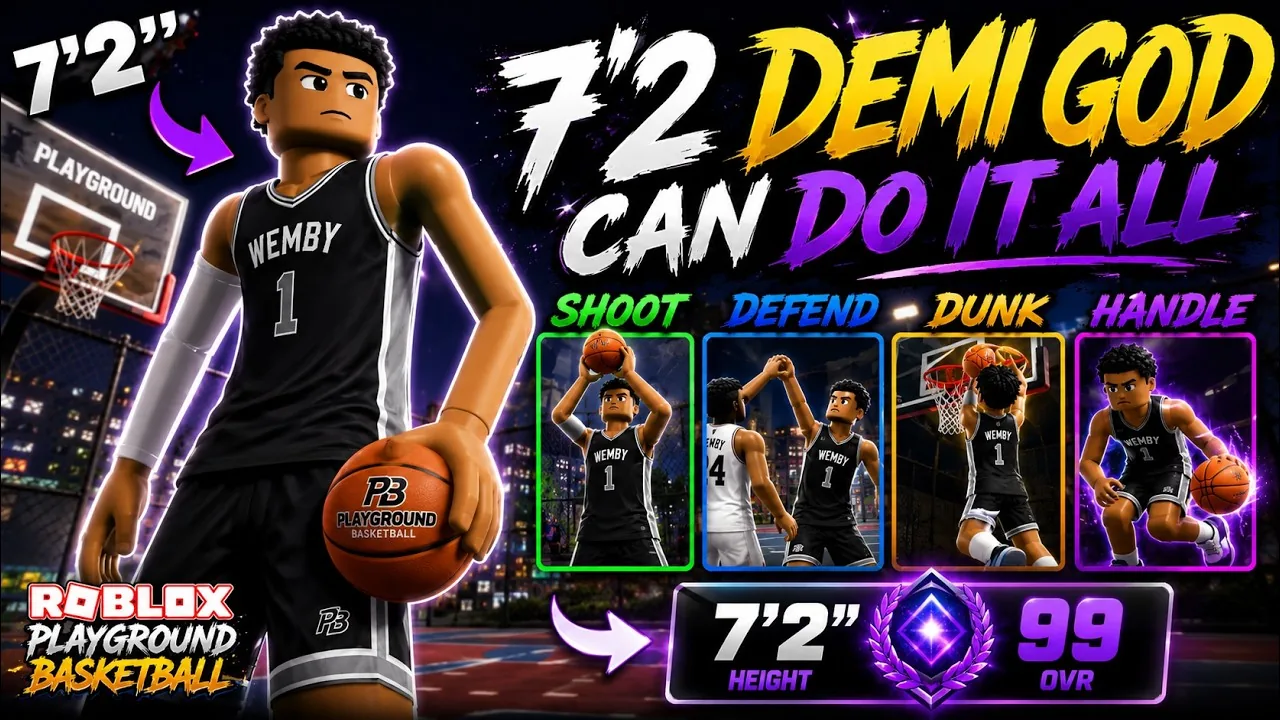
A Playground Basketball stretch build uses Stretch primary and Playmaking secondary pie charts to hit outside shots over smaller defenders while maintaining ball control. Setting height between 6'8" and 7'0" provides reliable floor spacing across park courts.
Core Archetypes and Positional Options
Stretch setups in Playground Basketball rely on height advantages to contest perimeter defenders while spacing the floor. Choosing between a center and a power forward determines whether the player gains screen strength or foot speed.
Content creators Rum and Sello both outline the 7'0" center configuration as an effective choice for isolation play and duo games. Setting primary pie charts to Stretch and secondary to Playmaking provides access to high three-point ratings alongside silver playmaking badges. Players who prefer interior defense over dribbling can also run a 6'10" stretch rim protector as detailed by creator Mr. 2K, which trades ball control for standing dunk ratings and paint protection.
The decision table outlines the standard stretch variations used in park matchmaking:
| Setup | Best For | Trade-offs |
|---|---|---|
| 7'0" 275 lb Center (Playmaking Stretch) | 2v2 screens and shooting over perimeter guards | 60 to 73 speed rating with reduced transition acceleration |
| 6'8" 190 lb Power Forward (Playmaking Stretch) | 1v1 isolation and quicker perimeter cuts | Lower interior contest strength against pure post scorers |
| 6'10" 225 lb Power Forward (Stretch Rim Protector) | Paint defense with spot-up midrange support | 73 three-point rating limits deep half-court range |
Players prioritizing half-court screening pairs often configure this archetype as their best center build to keep defensive size intact while pulling opposing bigs out of the paint.
Physical Attributes and Rating Benchmarks
Physical adjustments directly alter shooting percentages and interior contest caps during player creation:
- 7'0" Center (275 lbs): Setting weight to 275 pounds preserves interior contest attributes and grants access to Brick Wall screens. The build reaches a 78 base three-point rating that scales past 81 depending on wing measurements, paired with an 85 to 90 midrange rating and 73 speed.
- 6'8" Power Forward (190 lbs): Dropping weight to the 190-pound minimum boosts open-floor agility while raising the base three-point rating to 83. Ball control remains responsive enough to trigger separation moves off the perimeter.
- 6'10" Power Forward (225 lbs): Running a Stretch primary and Rim Protecting secondary profile yields an 87 interior defense rating, 81 strength, 86 standing dunk, 79 driving dunk, and 78 pass accuracy alongside an 81 mid-range rating.
Driving dunks on big builds convert consistently when players maintain at least a 60 driving dunk threshold, allowing stretch bigs to cut to the rim when defenders overcommit to outside shooting.
Badge Priorities and Progression
Stretch players need to allocate badge points into shooting upgrades before branching into playmaking or paint protection. Meeting specific badge requirements determines how effectively a tall shooter hits contested greens.
Priority Shooting Upgrades
- Green Machine: Expands the green release window after consecutive timed releases.
- Difficult Shots: Boosts moving jumpers and fadeaway releases when stepping out of isolation moves.
- Range Extender: Enables deep three-point attempts several paces behind the park arc.
- Deadeye: Reduces closing contest penalties from smaller guards attempting late closeouts.
- Corner Specialist and Open Look: Stabilize spot-up catch-and-shoot jumpers in half-court sets.
- Tireless Shooter: Preserves release timing during extended dribble sequences.
Playmaking and Defensive Badges
- Space Creator: Silver level creates enough separation on step-back jumpers to shoot clean looks over defenders.
- Quick Handles and Handles for Days: Equipping bronze or silver keeps the ball secure during standard crossover sequences.
- Clamps and Brick Wall: Gold Clamps on the center variant holds ground against opposing driving guards, while Brick Wall drains defender stamina during screens.
Takeover Pairing and Signature Animations
Selecting the correct takeovers provides massive attribute spikes once the meter fills during park matches.
For a playmaking stretch center or power forward, the standard pairing is:
- Primary Takeover: Precision Shooter. This activation raises the effective three-point rating into the 90s, allowing consistent half-court makes.
- Secondary Takeover: Eraser. Eraser provides an interior contest boost that shuts down paint attempts from slashers and rim runners. Mid-Range Specialist serves as an alternate secondary option for players running the 6'10" stretch rim protector build.
Signature dribble animations and jump mechanics determine release speed. Rum utilizes Set Shot as the best jumpshot on 7'0" stretch bigs to deliver an unbroken green window over contested hands.
For isolation spacing, pair Set Shot with these specific animation packages:
- Escape Move: Young
- Step Back: Pro
- Between the Legs: Pro
- Spin Move: Normal
Executing the Pro step back after driving forward pushes the defender into recovery animations. Because the 7'0" player model releases high above perimeter guards, light contests frequently fail to disrupt the shot timing.